 The idea is to reduce the volume in the front of the mat.
 And by placing them in divergent lines it controls the shape across the width of the mat.
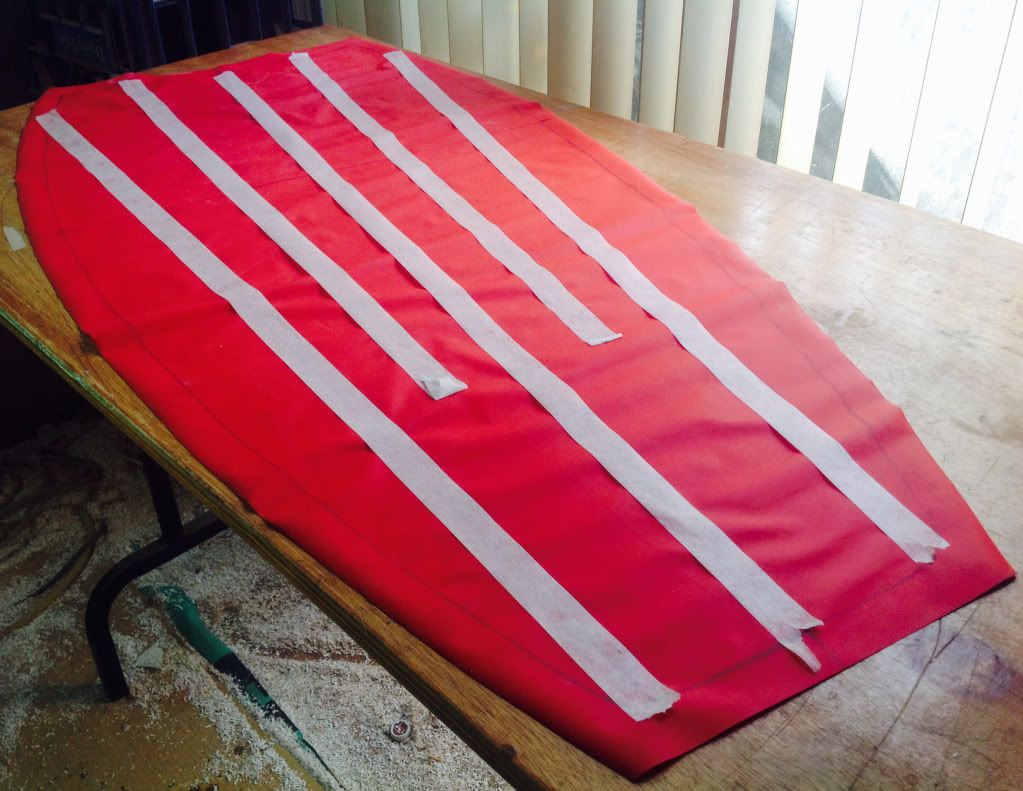
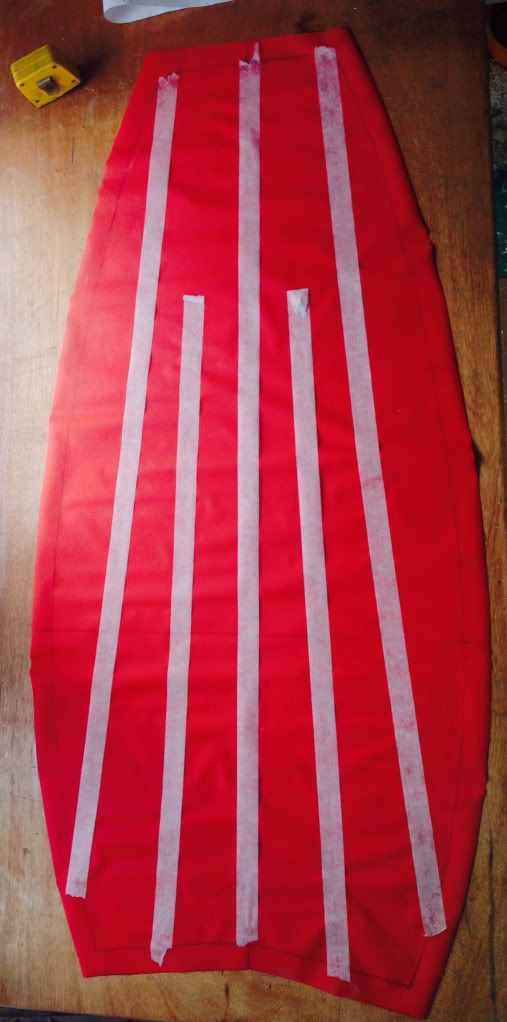
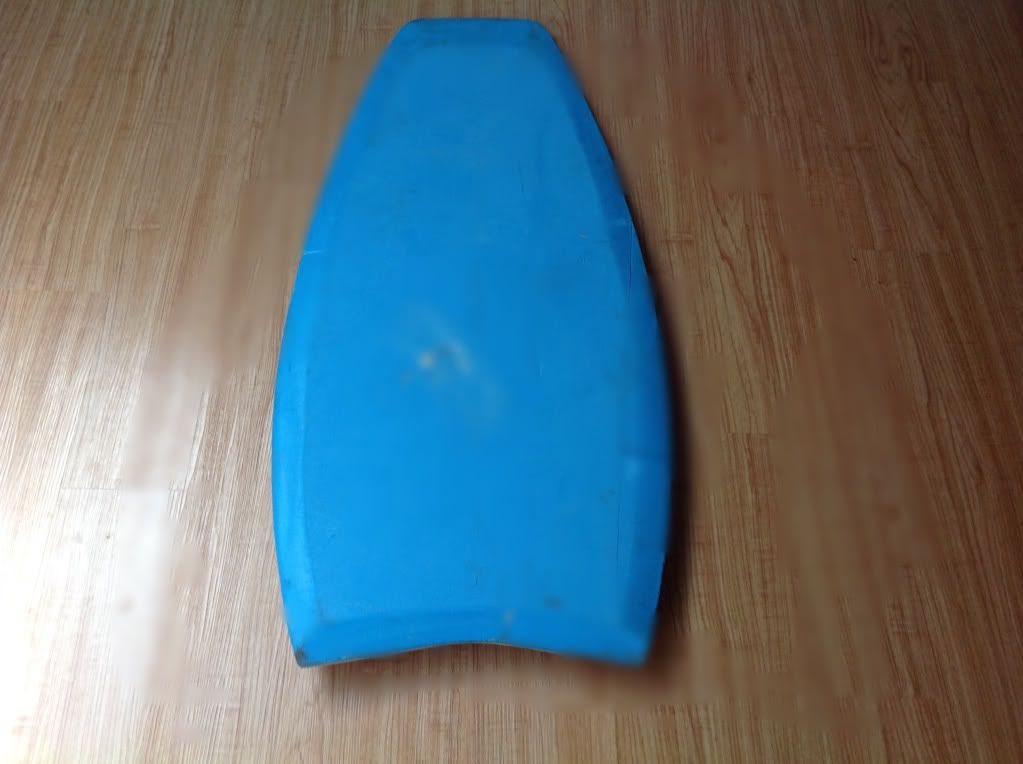 And why not reduce the area / bouyancy in the tail to reduce slipping on a steep face ? So I'm doing a swallow tail too.
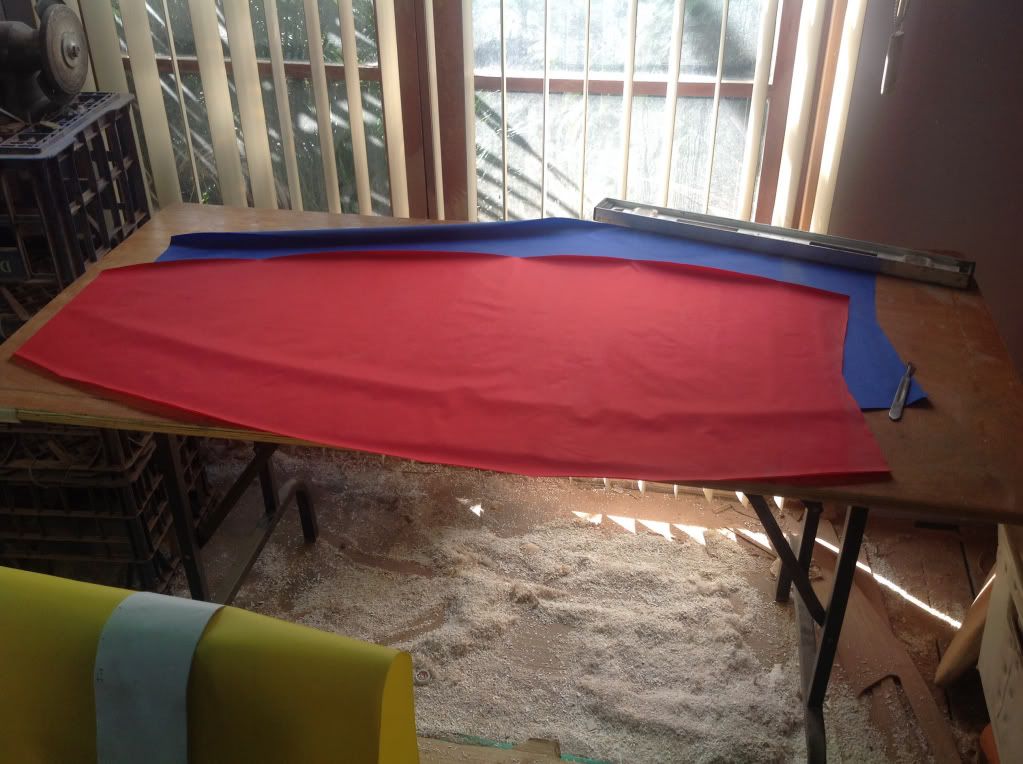
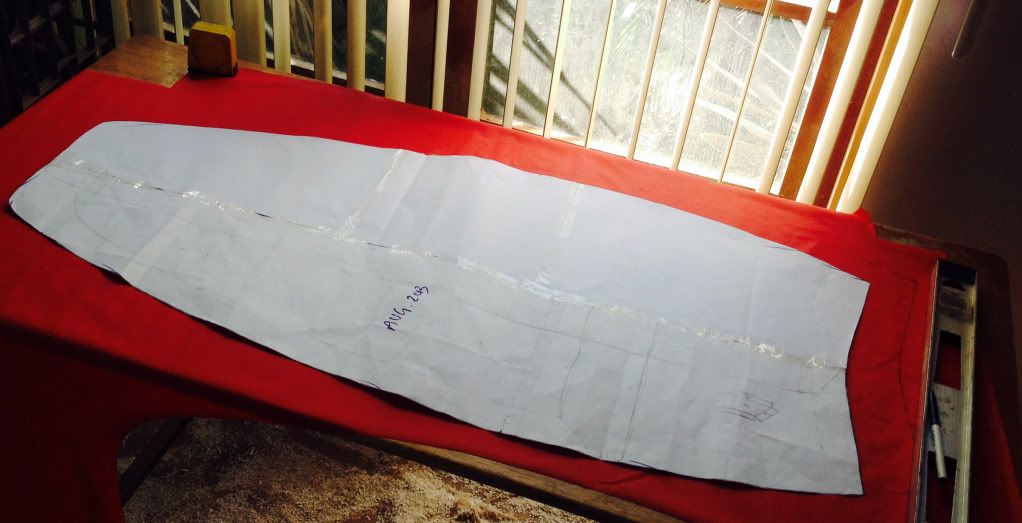
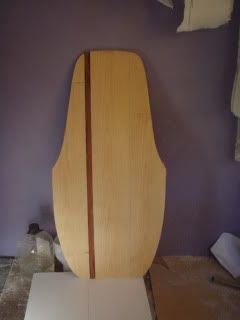
First create a paper planshape to transfer to the material.
 Funny thing about getting the right material, Ive used a few "waterproof" fabrics and I'm sure they are, but that doesn't necessarily mean they are able to handle pressuried air.
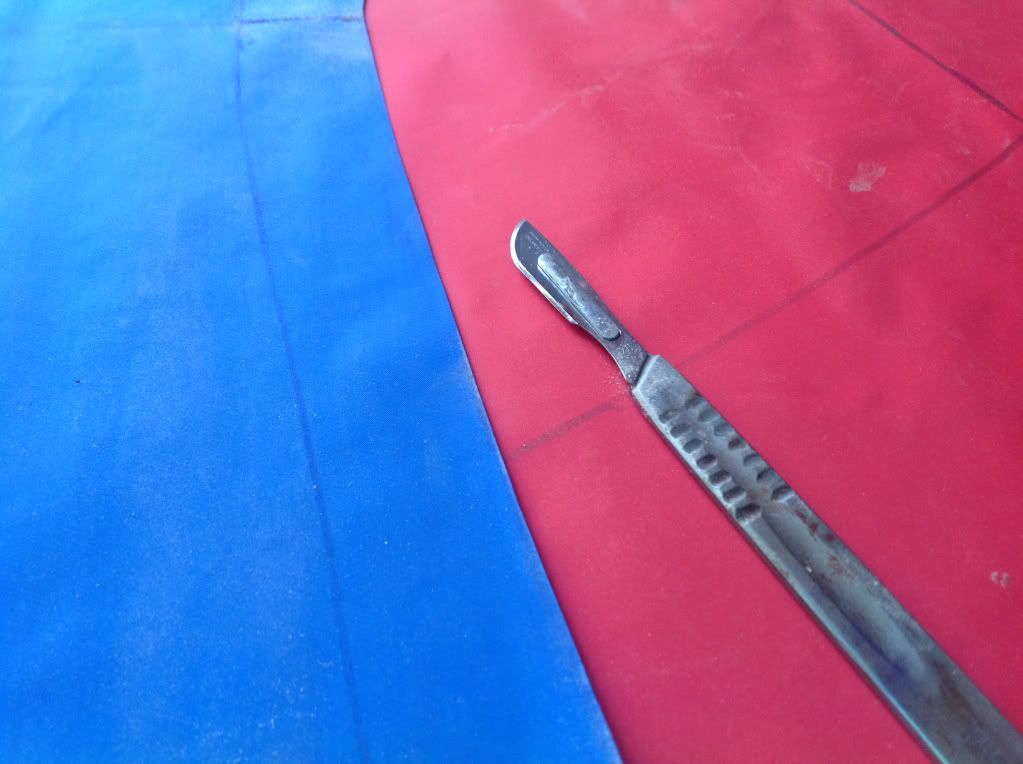
Best way to cut the fabric...scalpel, and a steady hand.
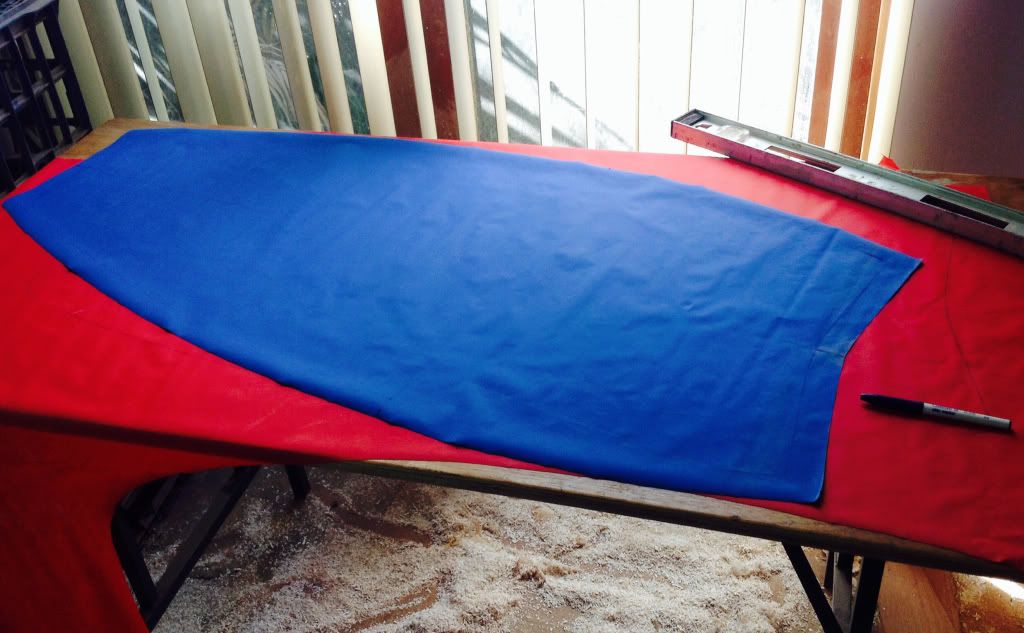
 Glueing is a quick way of putting the pieces together, now I wish I'd made it a more complex design.
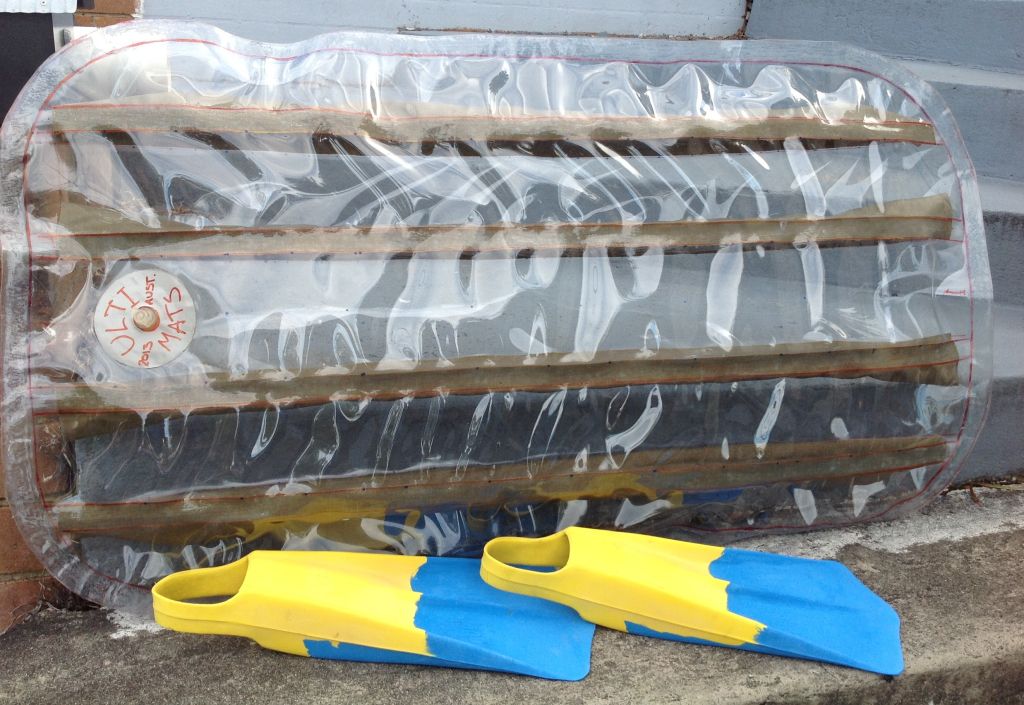 I always try to do something different in each mat so I can test various ideas or concepts and in this one Ive used tapered I beams at one end and square beams at the other end.
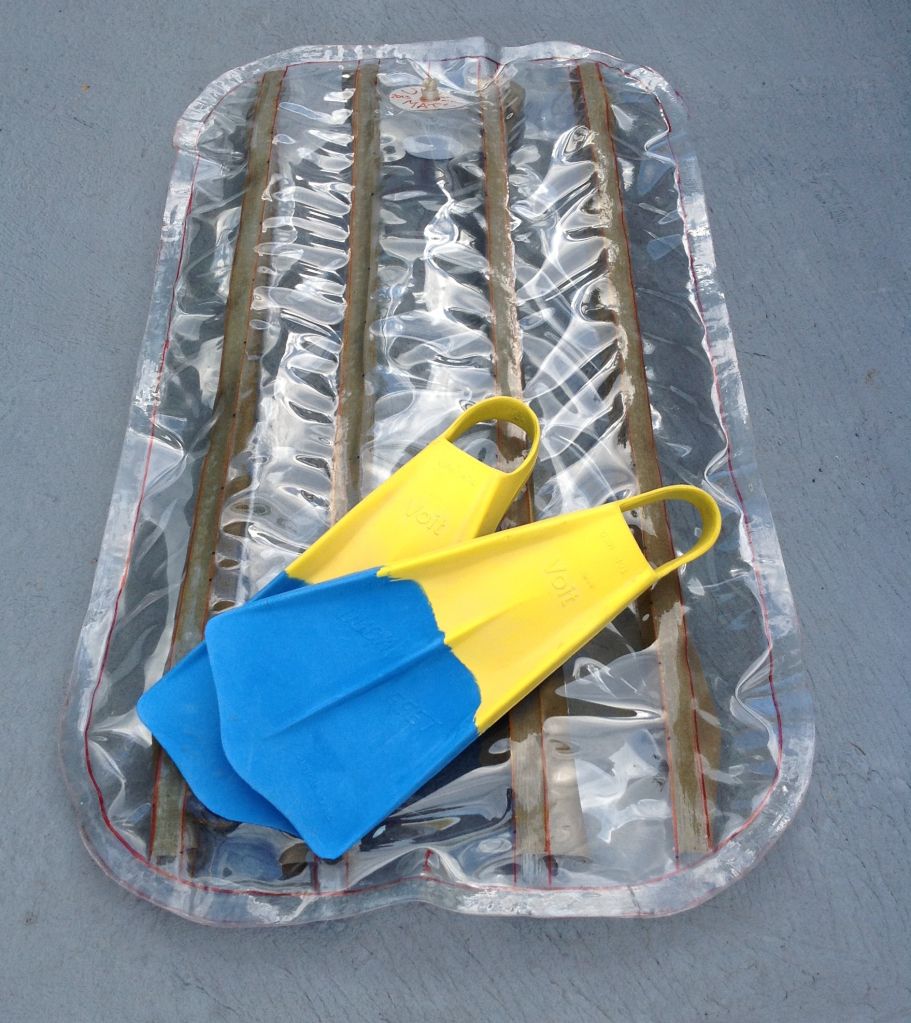 I found it to be a very stable and familiar sensation to ride, except for the view of the water surging like a tornado under the mat, its a bit of a maelstrom of many directions and speeds, but a very absorbing sight while trying to stay on the wave.
 Next time I go out I will take the GoPro to get some pics of the water flow through the mat.
But I'm already looking at doing a new mat design.
 Here's the basic planshape and it will have no edge laps, 4 divergent I-beams and a tapered nose to tail foil.
 First glue, and then roll out any air bubbles, too easy.
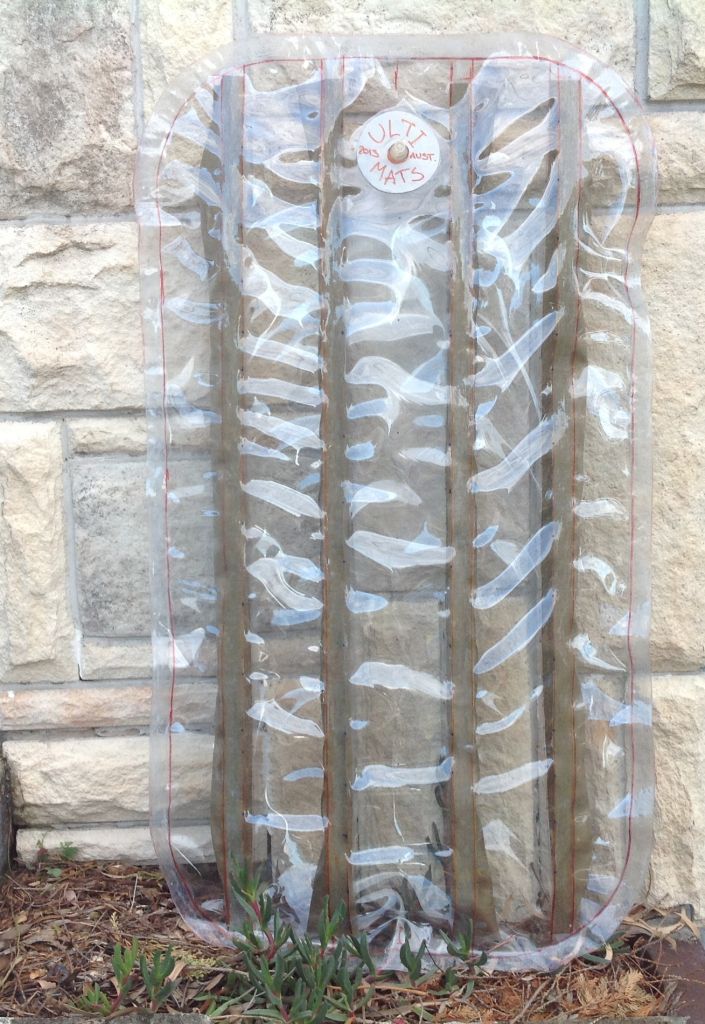
 I'm really going to be able to see the water flow under the mat. I don't think Ive seen anyone make a clear mat before ? There's so many new surf mat design Ideas to explore.
 For the next Ultimat surf mat I'm experimenting with tapering the I beams to get a different rocker and nose lift.
.
As well as incorporating a Flexible Front Frame.
.
And a few other new surf mat design concepts... Stay tuned.
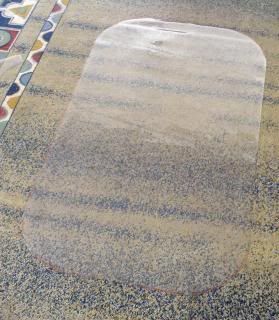 The cool part is that I will be able to see the water flow under the mat as I surf, paddling out I should be able to see under me like I was wearing a mask. I think there's a good idea in putting 'tell-tales' on the hull like they do on a sail to determine in which direction the flow is moving.
.
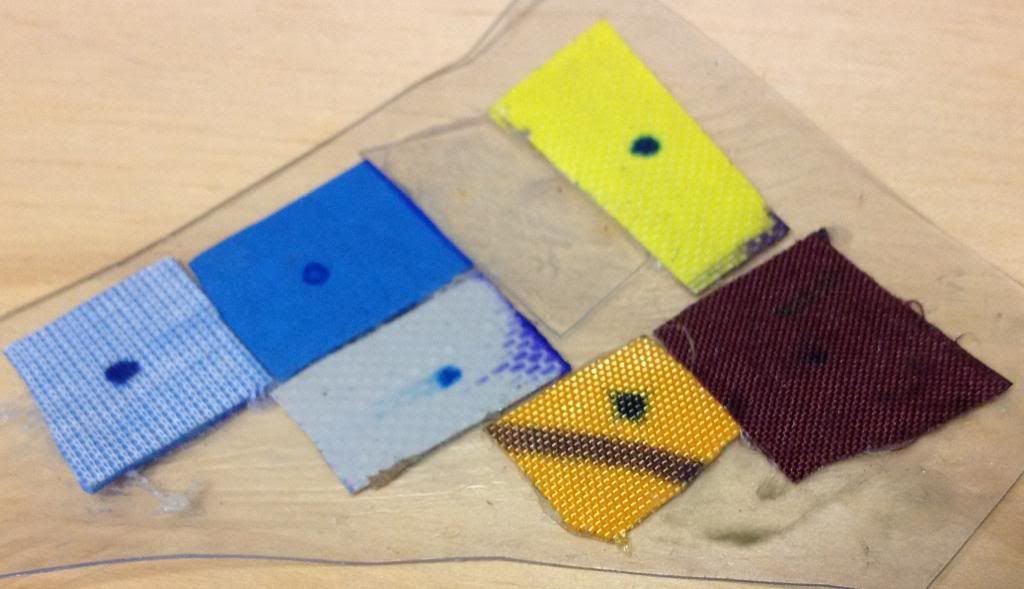
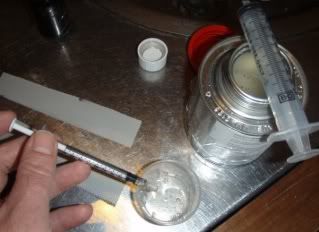
Im also testing all the intended materials to ensure theyre compatible with the glues.
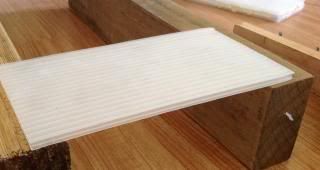
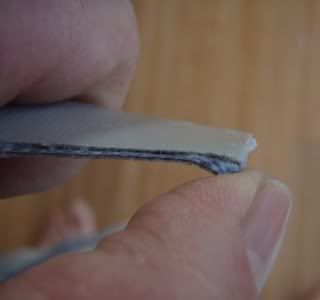
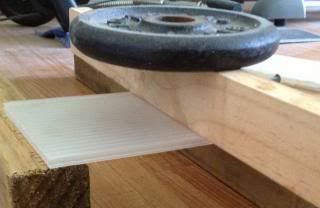 Snapped at 10.5 kg.
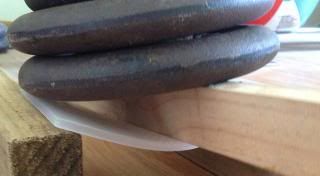 3 layers glued with pu glue.
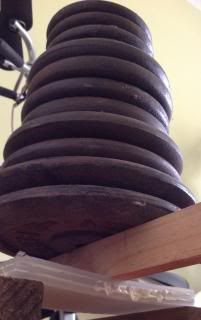 50 kgs and only bending slightly. I think 3 layers will be suitable for this application.
I don't test every bolt and screw but I like to know that what I build is dependable and that it works.
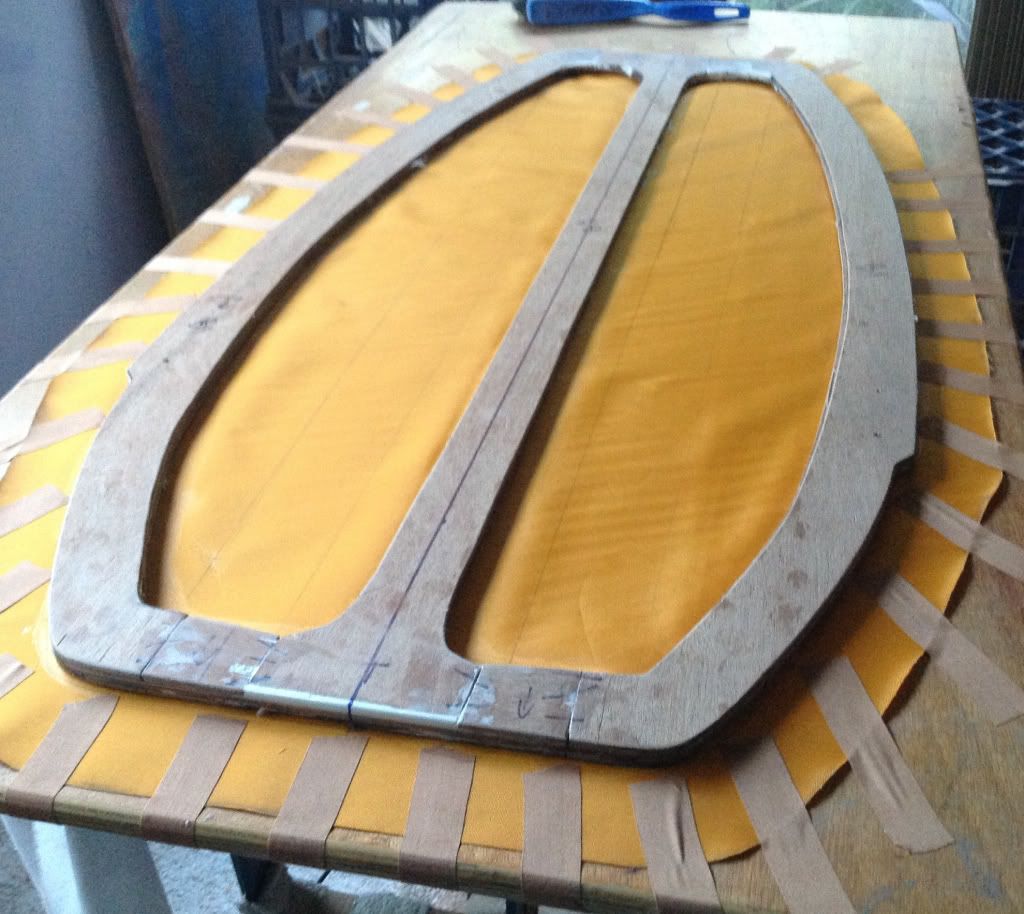
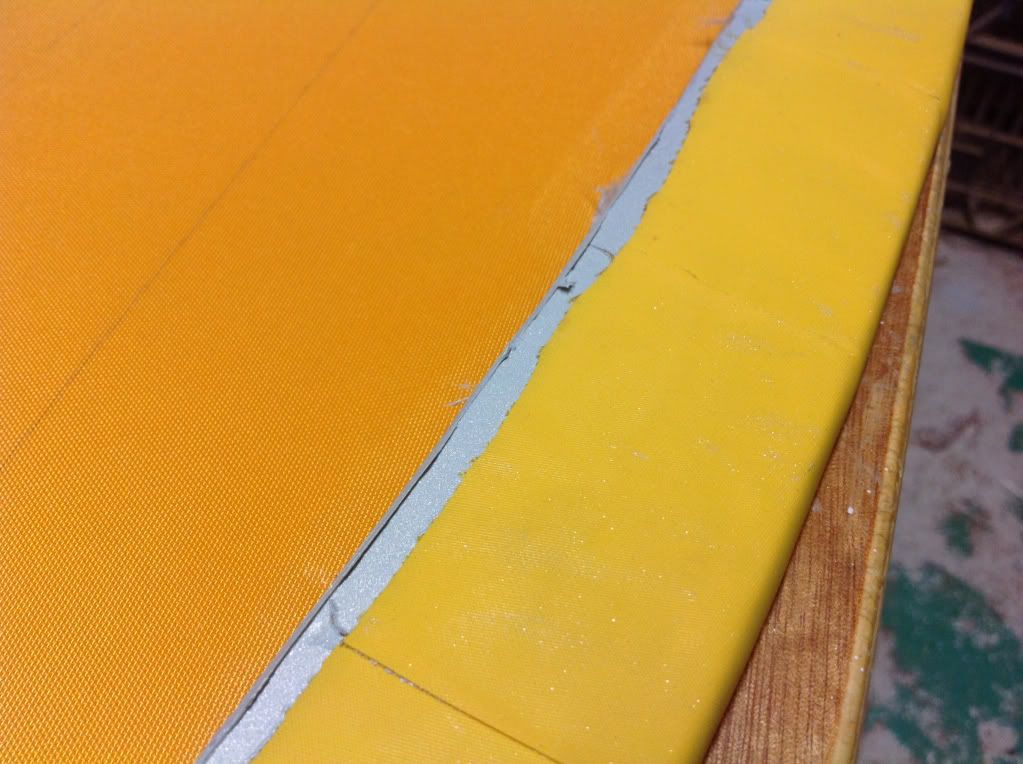
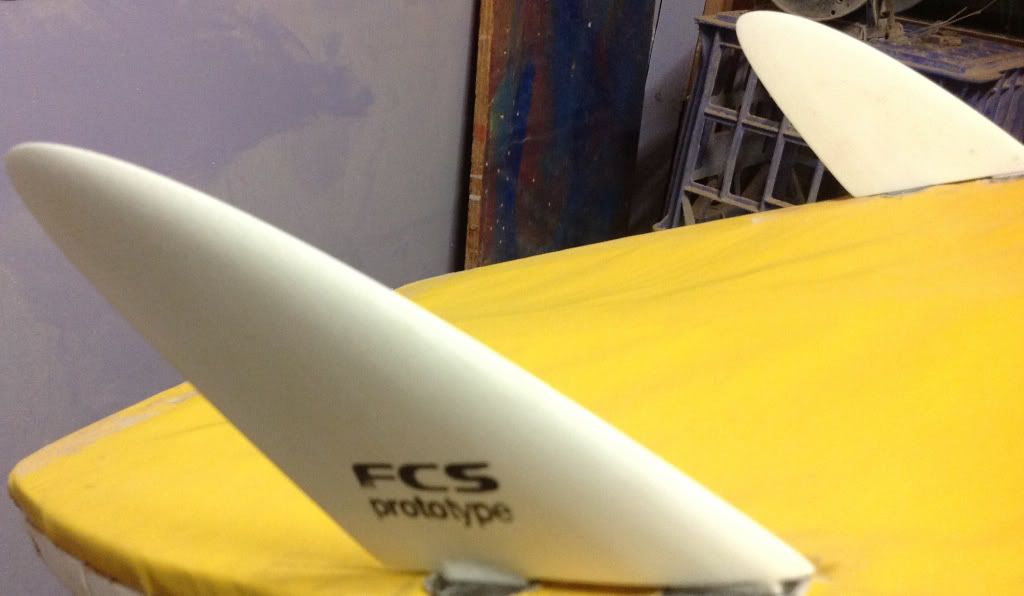
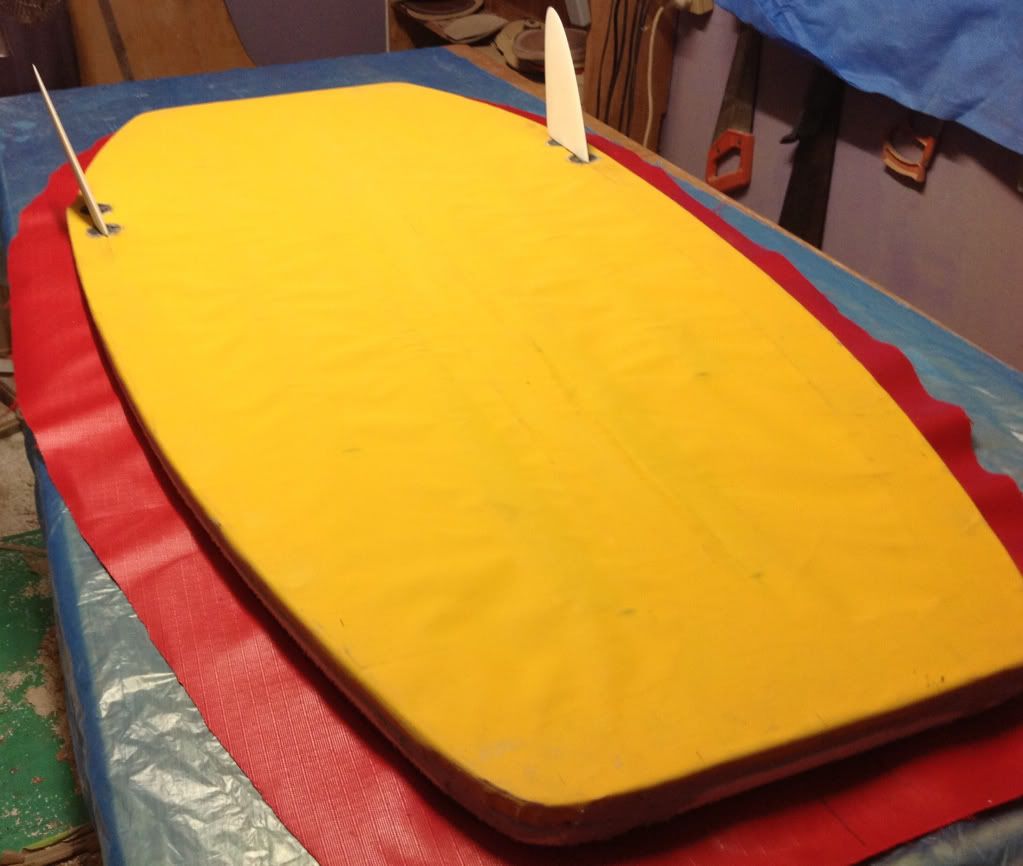 5 pontoons, 4 I-beams, 2.5 inch thick, nothing tricky with the hull shape.
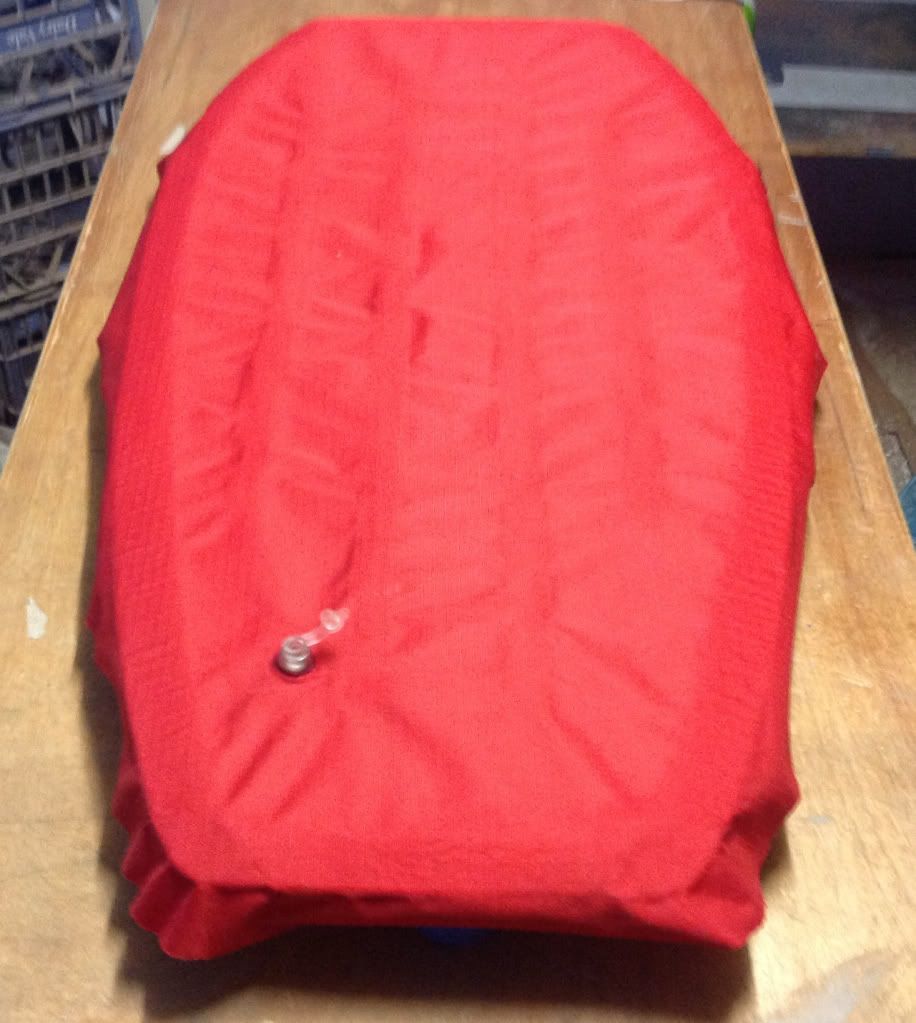
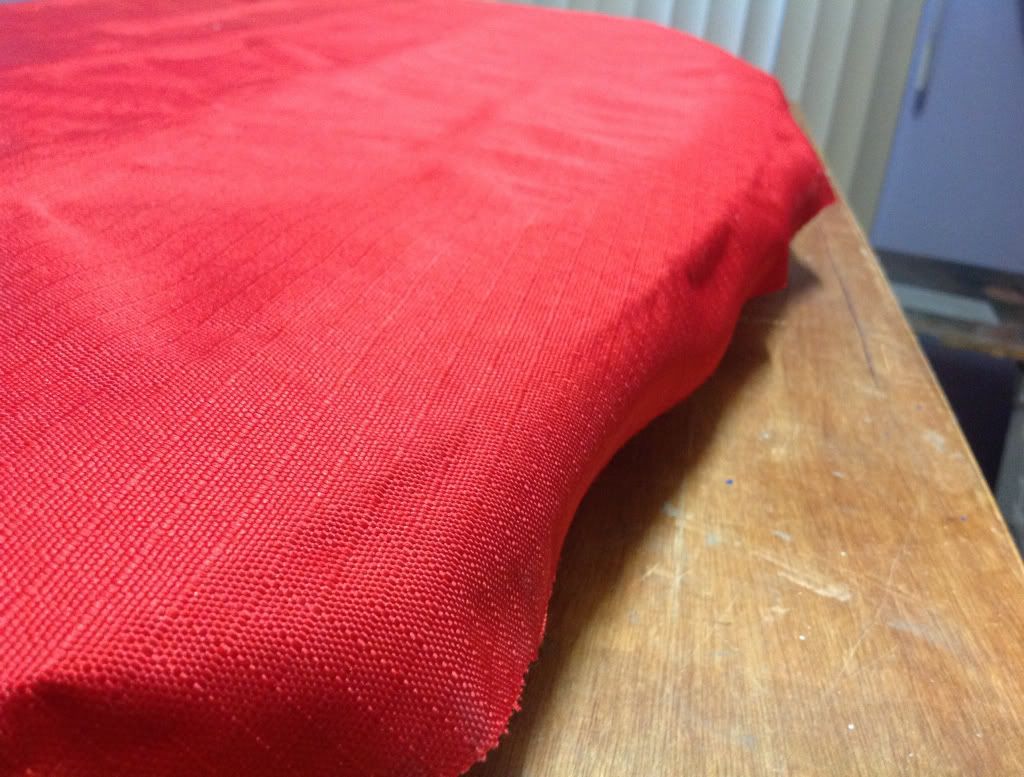 What I need is a totally consistent product like a plastic, but even 3mm plastic gets heavy as you add it to the other components...
Something plastic but mega light, some sort of engineering sheet that's internally stable. Something I can use for the frames as well as for internal hull springers, battens and my flexible I-beams (Tensairity) prototypes.
Then I found architectural corflute.
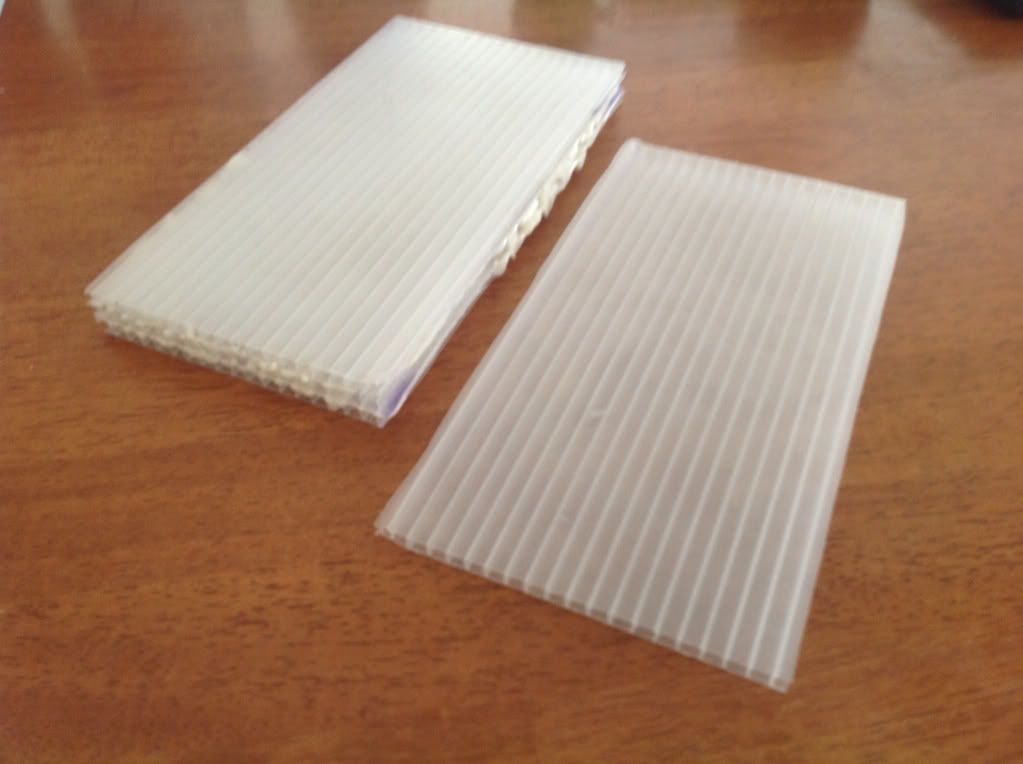 Light, uniform, flexible, uv stable, recyclable.
Time to test it for suitability.
 Perimeter frame with single span 400D flexible deck and hull.
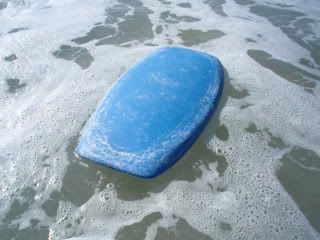
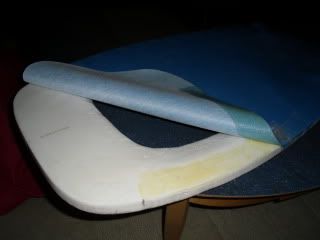 theres plenty of inspiration and precedence for mixing hard and soft elements, and flexible inclusions... Stringers / springers / ribs and strakes.
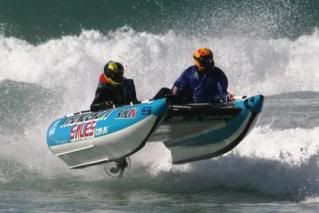
 Makes me wonder how fast a windsurfer could plane with a flexible hull....maybe I'll try converting one too.
 Along with making and testing the prototypes theres always a need to take notes after each surf to log results and dimensions and doing conceptual drawings to visualise how components work together..
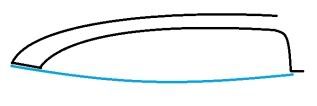

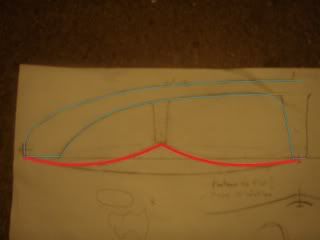
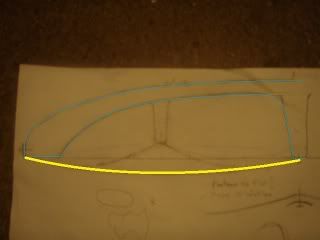
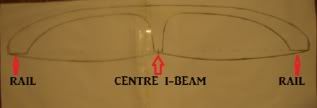


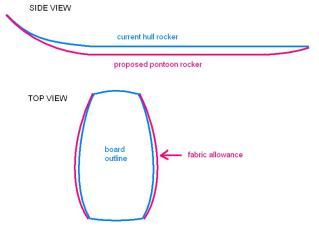
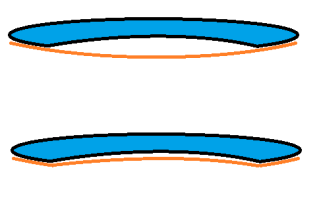
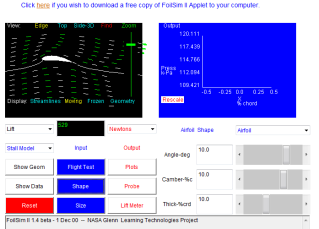 and then back to building...

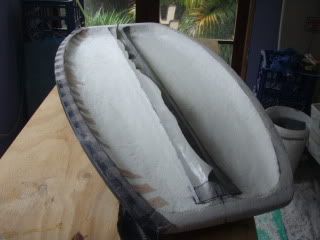
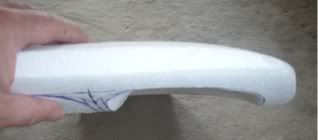
 Materials testing for compatabilty..


 SO the inspiration came from the mat itself and then theres been years of diligent thought, building, testing,refining, cursing and the odd moment of epiphany.
I guess this is the way every mat builder started out....