I did a post a few months ago about how the pressure changes when you get on a mat, it starts out with low pressure inside a set volume but when you're on the mat the pressure increases and inflates the parts you're not lying on. This side inflation often makes it look like the mat is fully inflated but it's just the rails that have filled out.
Initially a "90 degree" mat is 3 inches thick
And when youre on the mat the rails inflate and you settle into the middle of the mat, but that's why it's so important to spread your weight out so that you keep a constant layer of air between you and the water.
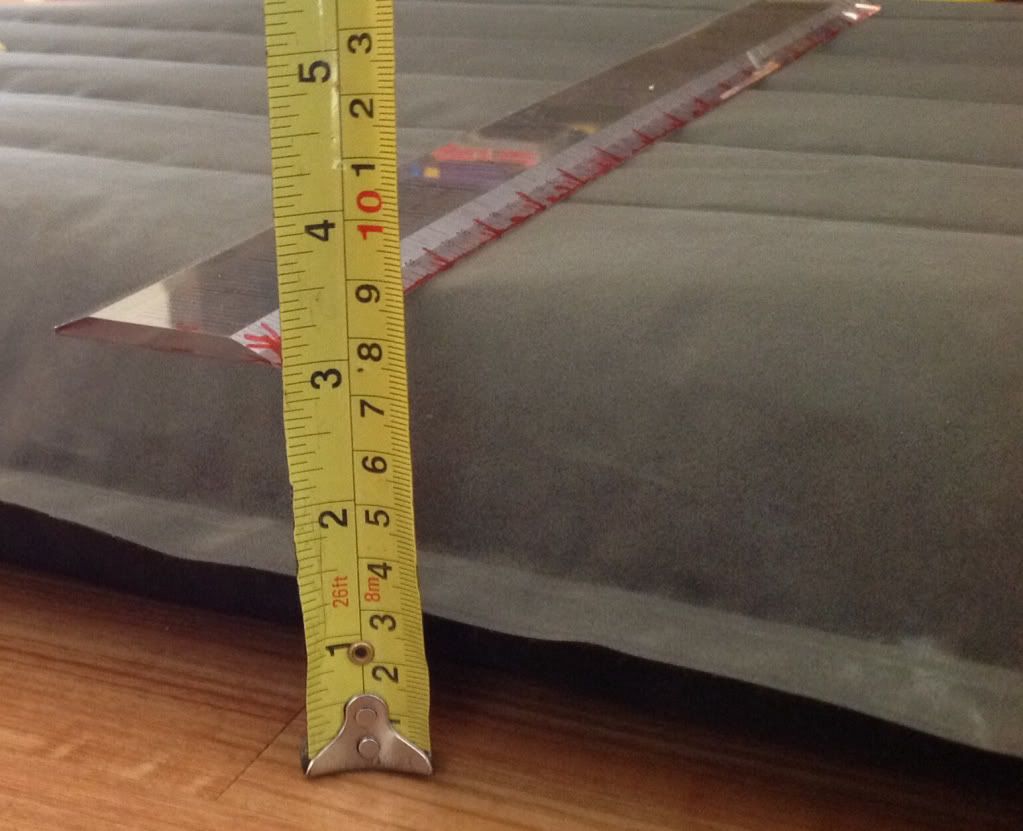
Mat rails are about 5 inches thick when inflated, and the bigger the rail, the flatter the curve and the less hold it has on the wave, a bigger rail also holds more volume of air and that resists dojng anything more than skimming the surface. You could design a mat with a concave but how are you going to force that inflated rail under water?
However having a slightly smaller rail with a more efficient curve will give more hold on steep waves and during turns. Add a domed deck and you've now got a mat that adds an extra inch between you and the water.
These new features are going into the next mat called...The Torpedo !
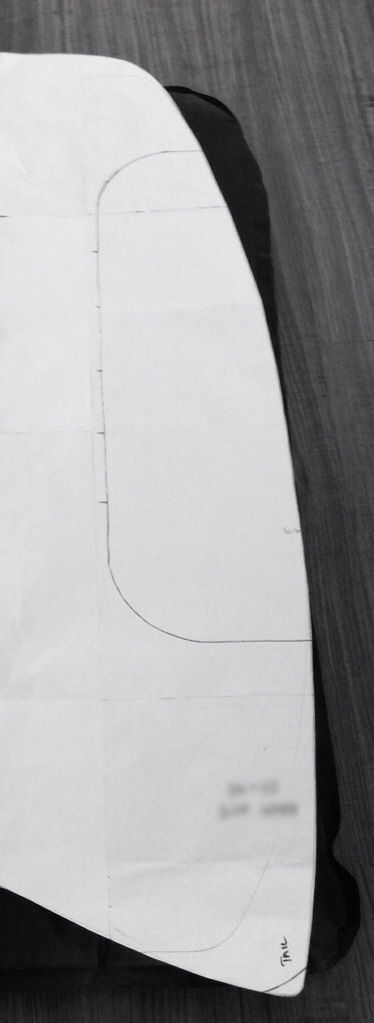
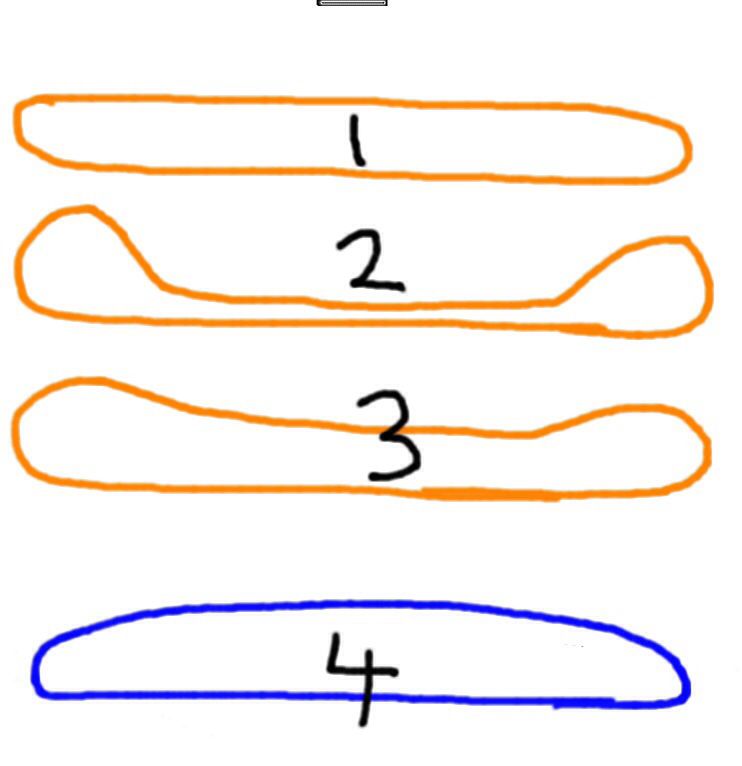
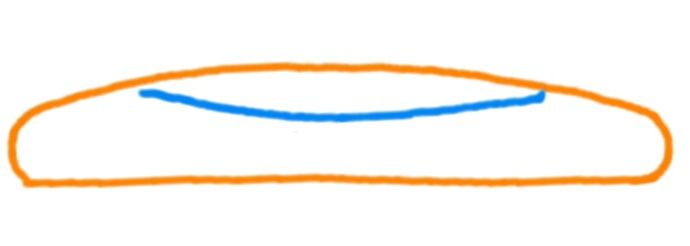
The Torpedo has a pulled in nose area to keep the control directly under your chest, you won't feel the need to put your arms forward. With your chin on the front edge, the Wide Point is in line with your hips for control and the Swallow tail is a great new feature Ive tried on the 2 previous mats and its an instant celebrity that's going on every future mat of mine from new on. The swallow tail doesn't affect the speed but it reduces the tail bouyancy so you control your turns with your inside leg. Freakin amazing !
 And when youre on the mat the rails inflate and you settle into the middle of the mat, but that's why it's so important to spread your weight out so that you keep a constant layer of air between you and the water.
 Mat rails are about 5 inches thick when inflated, and the bigger the rail, the flatter the curve and the less hold it has on the wave, a bigger rail also holds more volume of air and that resists dojng anything more than skimming the surface. You could design a mat with a concave but how are you going to force that inflated rail under water?
However having a slightly smaller rail with a more efficient curve will give more hold on steep waves and during turns. Add a domed deck and you've now got a mat that adds an extra inch between you and the water.
Mat rails are about 5 inches thick when inflated, and the bigger the rail, the flatter the curve and the less hold it has on the wave, a bigger rail also holds more volume of air and that resists dojng anything more than skimming the surface. You could design a mat with a concave but how are you going to force that inflated rail under water?
However having a slightly smaller rail with a more efficient curve will give more hold on steep waves and during turns. Add a domed deck and you've now got a mat that adds an extra inch between you and the water.
 These new features are going into the next mat called...The Torpedo !
 The Torpedo has a pulled in nose area to keep the control directly under your chest, you won't feel the need to put your arms forward. With your chin on the front edge, the Wide Point is in line with your hips for control and the Swallow tail is a great new feature Ive tried on the 2 previous mats and its an instant celebrity that's going on every future mat of mine from new on. The swallow tail doesn't affect the speed but it reduces the tail bouyancy so you control your turns with your inside leg. Freakin amazing !


